Coffee Questions
How to Practice Latte Art: 4 Tips To Achieve Perfection
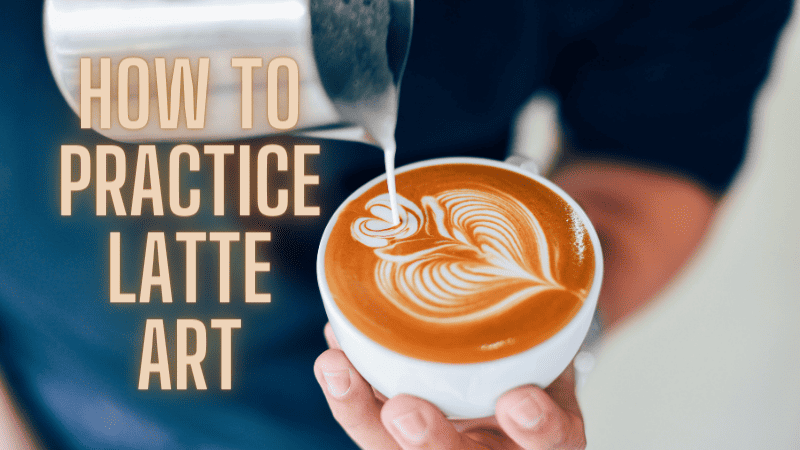
How To Practice Latte Art? Practice, practice, practice! Stay consistent and remember even the best baristas weren’t born with a steaming pitcher in hand.

Expert Consulted: Carl. Utilizing my 6 years of experience in the coffee industry, I’m able to provide accurate and concise information, helping you make informed choices about beans, brewing methods, and equipment, thereby elevating your coffee experience. In this article, I’ll share my knowledge to answer the query: How to practice latte art.
Latte art is a captivating practice that combines technical skill and creative expression to create visually stunning designs on the surface of a latte or milk-based coffee drink.
But you might be wondering how to practice latte art, if you’re in a hurry, I’ll provide a short answer below.
You can practice latte art in many different ways, but the method I recommend is to use some water and just a few drops of dish soap. Once you start steaming this liquid, you’ll notice the color and texture begin to change and become more like the milk you know and love. This is perfect for practicing latte art without going through heaps of milk.
In this article, we will explore the captivating world of latte art and unravel all that it has to offer.
The art of pouring steamed milk onto perfectly brewed coffee requires precise movements, patience, and attention to detail. It is an opportunity for baristas and baristas in training to showcase their skills and create visually striking masterpieces.
The best aspect of latte art is the ability to create many different designs, including hearts, rosettas, and tulips, just to name a few. Each design requires a specific technique, and mastering these techniques can take a lot of dedication.
Related Article: Do Lattes Have Sugar
Five Tips for Practicing and Learning Latte Art
If you’re looking to improve your latte art skills, here are five key techniques that can help you elevate your coffee creations.
1. Milk Steaming Technique
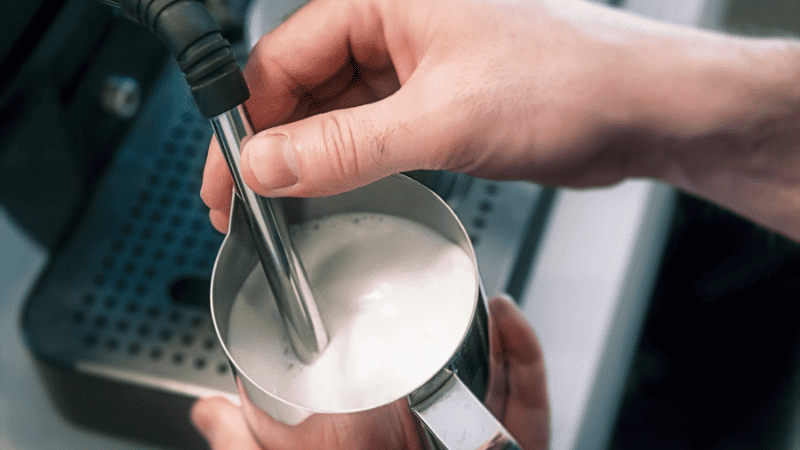
❌DO NOT TOUCH THE STEAM WAND AS SHOWN IN THE IMAGE ABOVE, IT IS BOILING HOT.
Start by using cold milk, as it gives you more control over the steaming process; putting your pitcher in the fridge beforehand can help.
Firstly, you want the steam wand to be in contact with the spout on your pitcher, then position your steam wand about 40 degrees to one side.
Begin with the steam wand just barely submerged in the milk; we don’t want to incorporate any air just yet. After roughly 3 seconds, slowly lower your pitcher until the tip of the steam wand is slightly above the milk; you should hear a light hissing sound.
Continue with this until the temperature of the pitcher matches the temperature of your hand. Once it’s at that temperature, slowly bring the pitcher up to just barely submerge the wand in the milk like at the start.
What’s happening now is we are creating a whirlpool effect to combine the foam we’ve made and disperse it evenly throughout the milk.
Now you’re just going to wait until the pitcher is too hot to hold, if you have a thermometer in your pitcher, then that’ll be about 65 degrees. Turn the steam off, and purge your wand.
2. Pouring
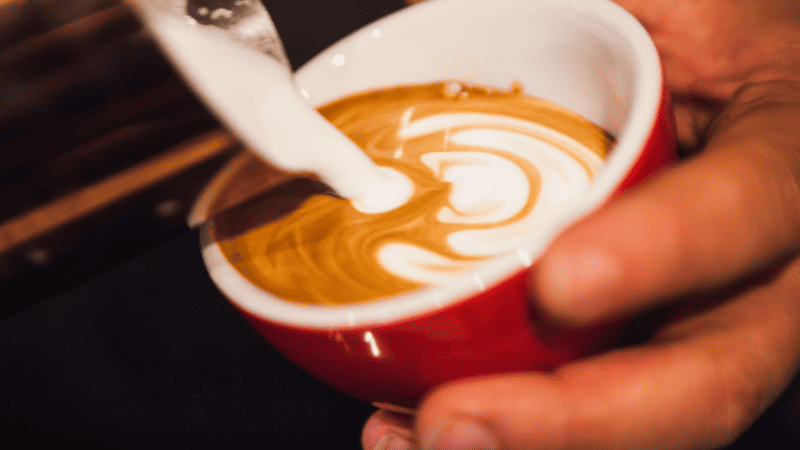
First, you want to firmly tap the bottom of your pitcher on your countertop or table a few times to break up any big bubbles and swirl it around to combine everything.
Pouring is essential for bringing the art to life, make sure that you have a wide-angled cup to pour into.
Pour the milk close to the surface of the espresso (instant coffee works too) in a steady and controlled stream, maintaining a consistent rate while angling the cup.
Experiment with different pouring heights, angles, and wrist movements to find what works for you.
3. Enhance Contrast with Etching
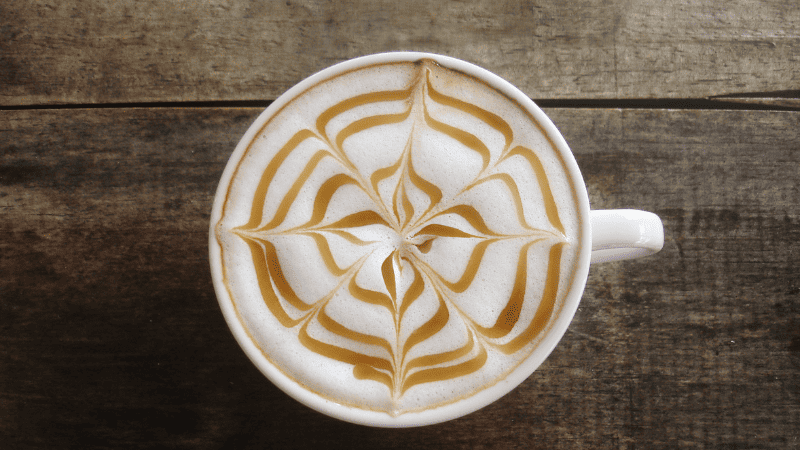
Etching is a technique that involves using tools like espresso spoons or toothpicks to draw intricate patterns on the surface of the milk foam.
This method allows you to add details and definition to your latte art designs, creating contrast and visual appeal.
Practice different etching patterns such as hearts, waves, or spirals to elevate your latte game.
4. Experiment with Colors and Flavors
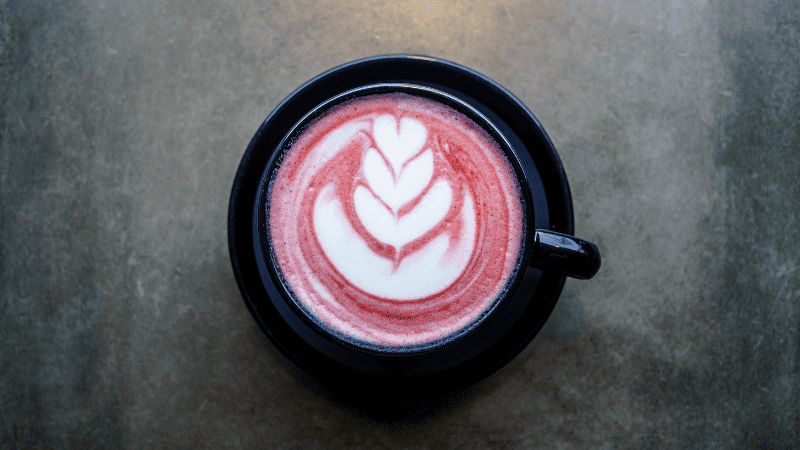
Once you have mastered the fundamental techniques, don’t be afraid to get creative with colors and flavors.
Consider using natural food dyes or edible powders to add vibrant hues to your latte art.
Additionally, you can amp up the taste by incorporating flavored syrups or spices into the coffee before adding your lovely milk.
This adds an extra layer of complexity and personalization to your latte creations.
Remember, mastering latte art takes a lot of time and practice. Embrace the learning process, stay patient, and enjoy the journey to creating beautiful and Instagram-worthy latte art designs.
Finding the Perfect Milk for Latte Art
To find the perfect milk for latte art, it is essential to consider its characteristics and qualities.
| Milk Type | Foam Stability | Creaminess | Sweetness | Texture |
| Whole Milk | High | High | Medium | Smooth |
| Skimmed Milk | Medium | Medium | Low | Thin |
| Almond Milk | Low | Low | Low | Thin |
| Oat Milk | High | High | Medium | Smooth |
| Soy Milk | Medium | High | Medium | Smooth |
These unique details can guide you in your quest to find the perfect milk for you. Each type of milk has distinct foam stability, creaminess, sweetness, and texture, which can significantly impact the outcome of latte art designs.
Conclusion
Mastering latte art takes time and effort. It’s important to be patient with yourself and consistently practice to improve your skills.
Choose the right milk for better latte art: Different types of milk can have a big effect on your results in latte art. Try to experiment with different milk options and find the one that produces the best taste, texture, and consistency for what you’re looking for.
Start with the more simple designs and gradually advance to slightly more complex ones: I recommend starting with a basic beginner-friendly design like a heart before moving on to more intricate designs like swans and tulips.
Don’t forget to try out some etching tools and food coloring to give your drink some extra pizzazz.
Building your skills gradually will help you develop a strong foundation in latte art.
Image Attributions
Main Image: Canva Pro – ‘Barista Doing Latte Art’ by Chevanon.
#1: Canva Pro/Getty Images – ‘Barista Steaming Milk In Coffee Shop’ by Bennian.
#2: Canva Pro/Getty Images – ‘Barista Pouring Latte Art’ by agrobacter.
#3: Canva Pro/Getty Images – ‘Hot Coffee Latte Art Top View Vintage Style’ by momnoi
#4: Canva Pro/Getty Images – ‘Pink Latte With Latte Art’ by nrqemi.


